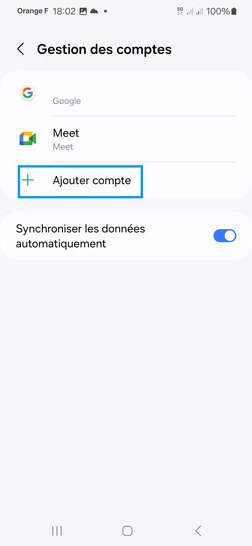
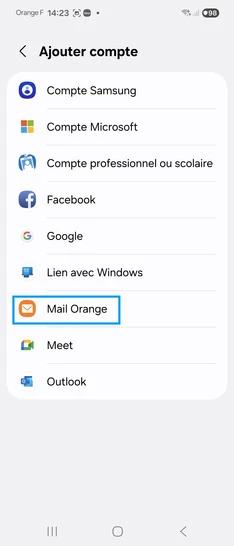
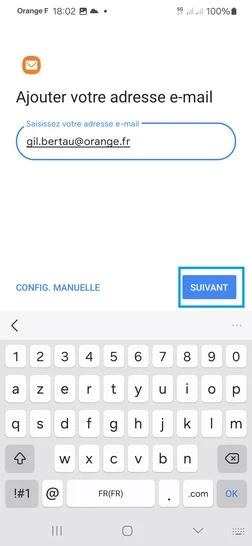
Configurer une boite mail
Avant de commencer
Pour configurer et gérer vos emails, vous devez être connecté à internet via Wi-Fi ou depuis le réseau mobile 3G/4G.
-
Balayez l’écran pour accéder aux applications.
-
Sélectionnez Paramètres.
-
Choisissez Comptes & synchronisation.
-
Sélectionnez Ajouter un compte.
-
Sélectionnez le type de compte Personnel (IMAP).
-
Saisissez votre adresse mail et poursuivez avec Suivant.
-
Saisissez le mot de passe associé et cliquez sur Suivant.
-
Allez sur la pointe de flèche pour valider les options du compte.
-
Fréquence de synchronisation : sélectionnez Jamais.
-
Allez sur Suivant.
-
Allez sur la zone du Nom pour personnaliser l'affichage sortant (facultatif) et terminez avec Suivant.
-
L'affichage se repositionne sur l'écran Comptes et synchronisation.Le compte mail est crée.
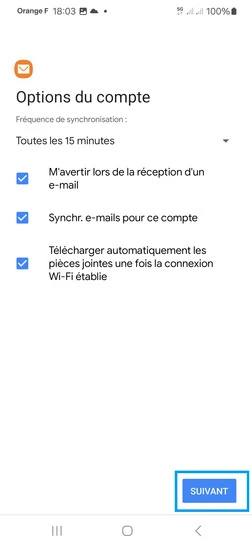
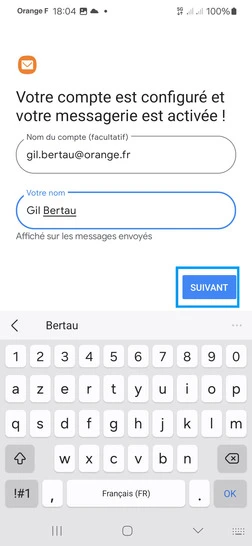
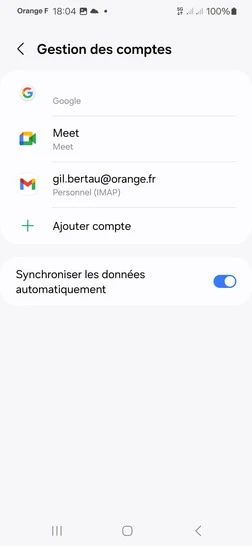
Bravo ! Vous avez terminé ce tutoriel.
Découvrez nos autres tutoriels